
The Meriwether
February
By Jesse Nunan
We are back at it this month, starting the semester with a new medium. For the first time I threw clay on a wheel - which turns out is far harder than my professor made it look in his demonstration.
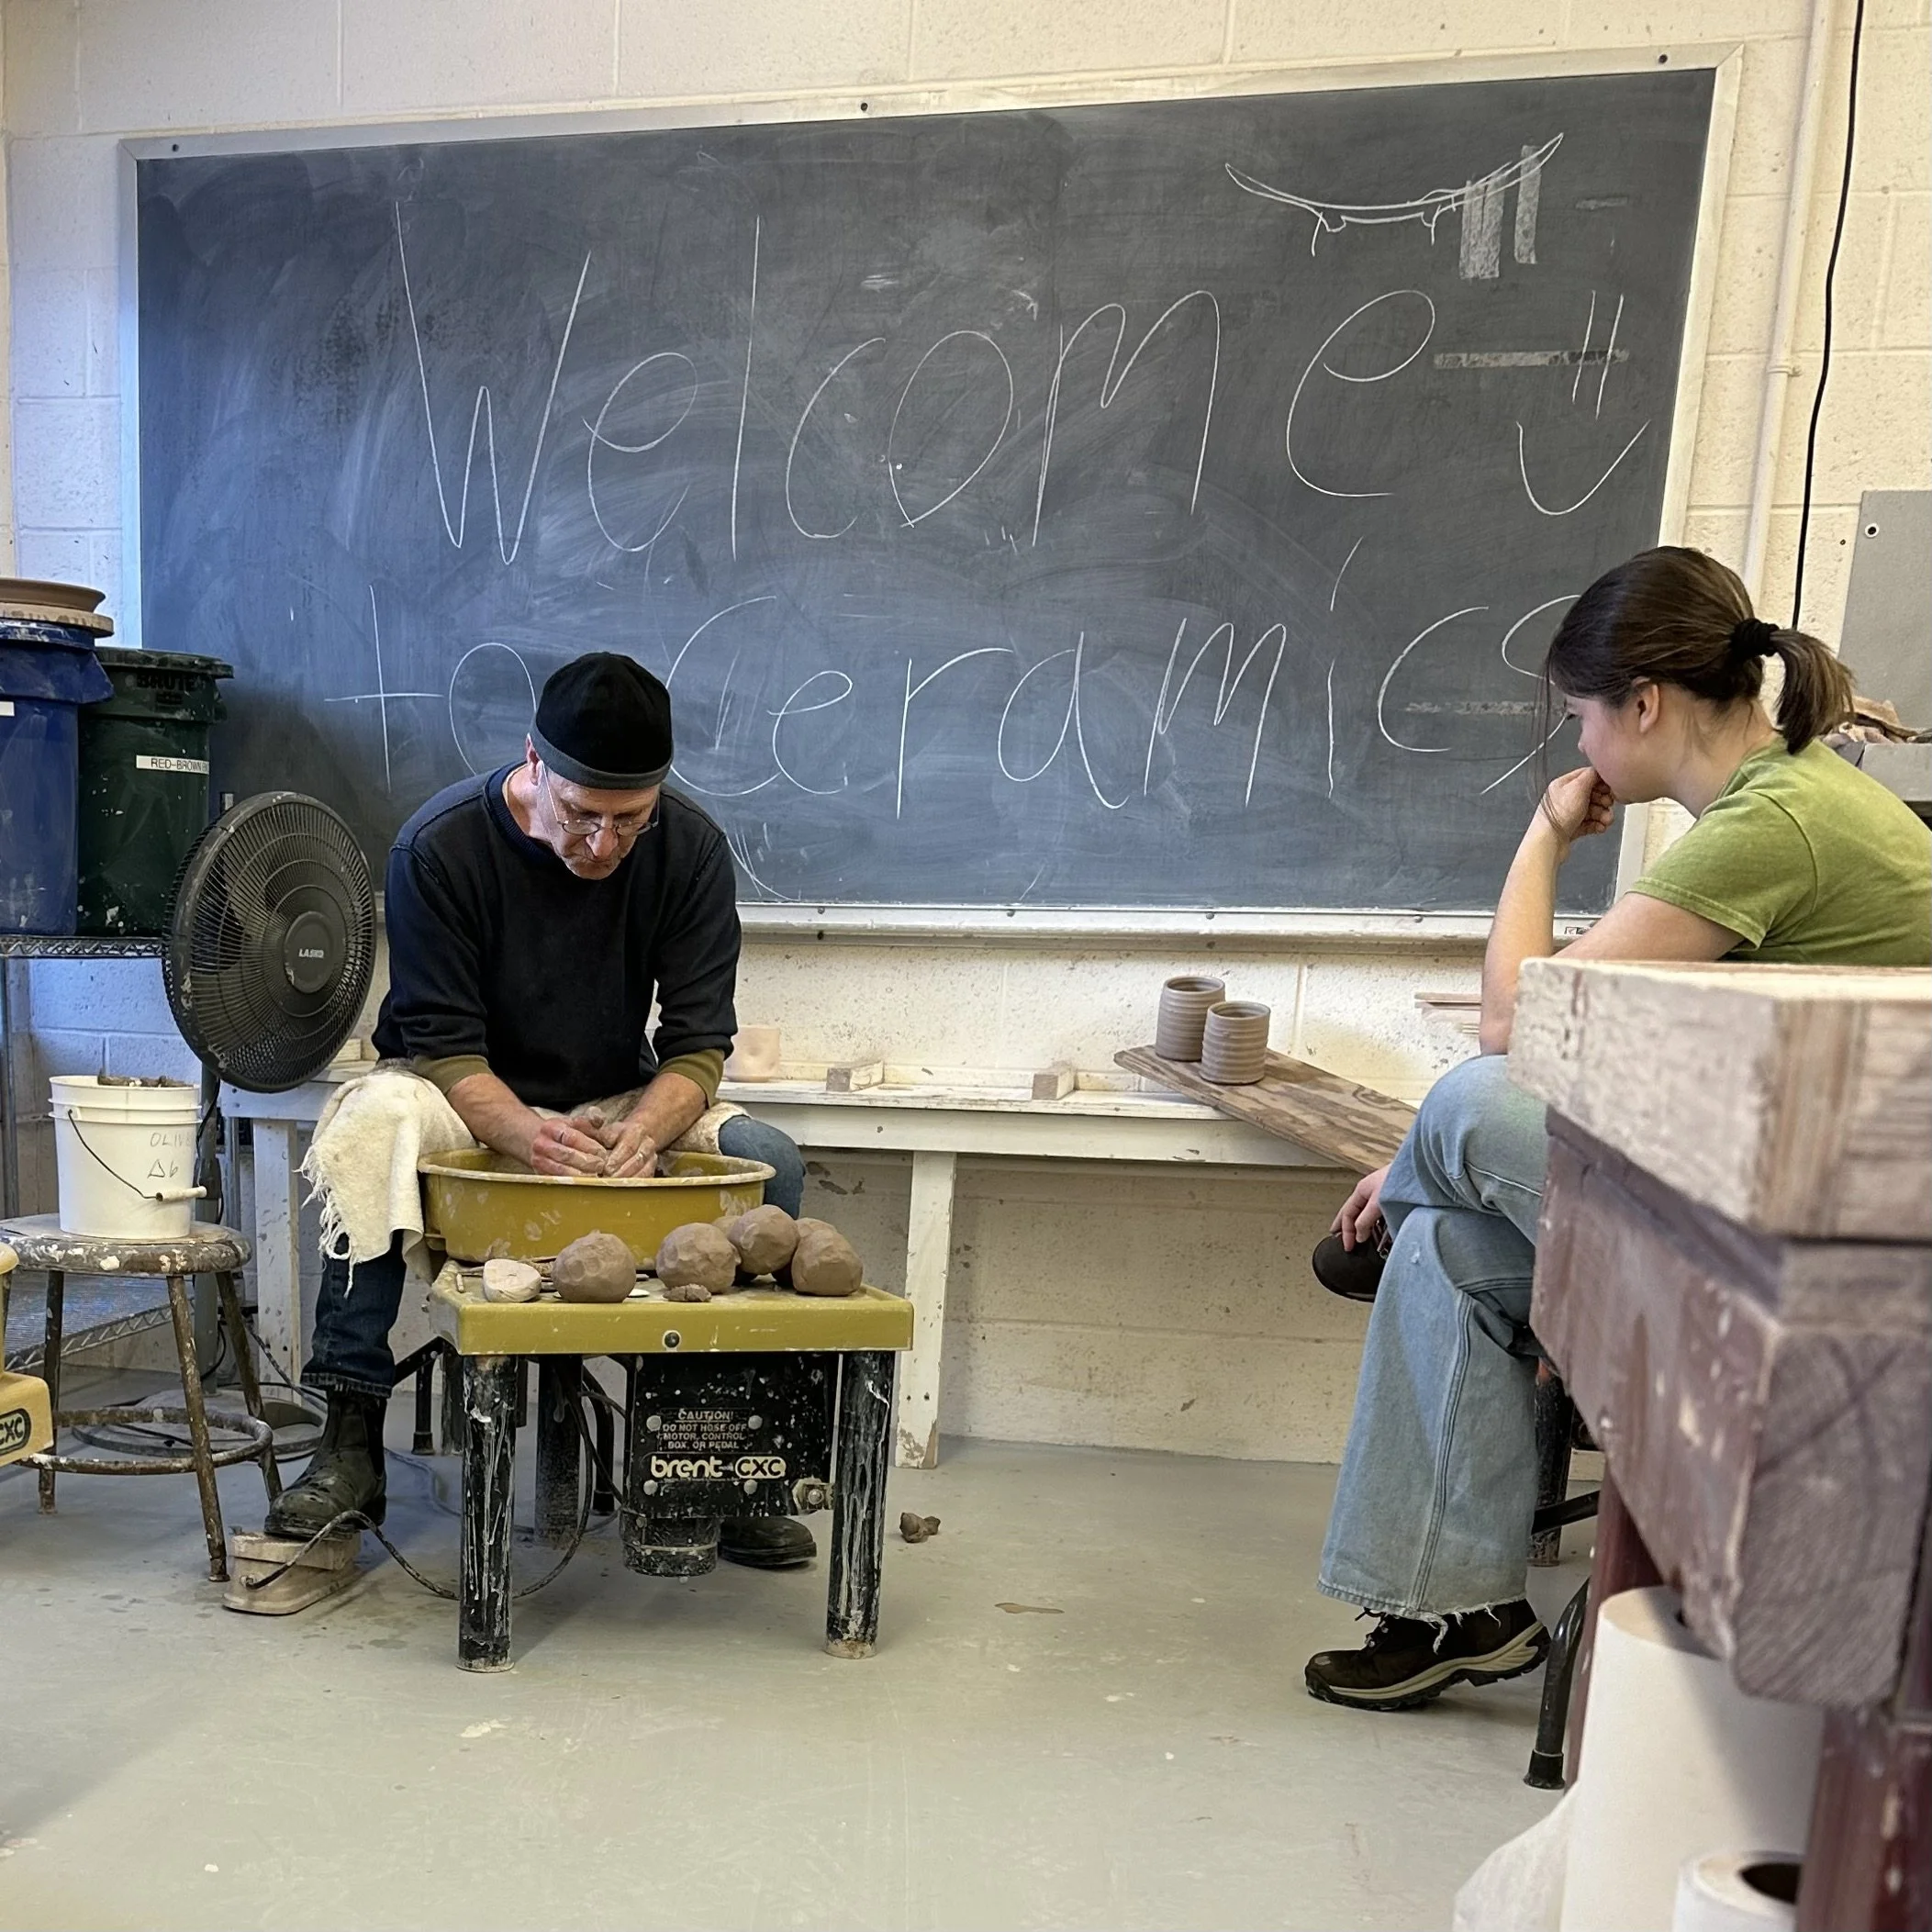
The first day of the five week workshop my professor Peter instructed us to make cylinders.
The first step to throwing is to wedge. Which is when you remove the air pockets by kneading it.

Throwing on the wheel took some time to get used to. My first cylinders I produced came out lopsided because I did not properly center the clay on the wheel. However, for the first few classes the Professor did not provide much guidance, pushing us to think outside of the box and problem solve the flaws in the pieces. This was helpful because it allowed me to understand the way that clay works through trial and error and grow a better understanding of it.
The video above is about a four classes into the workshop. After some experimentation I was able to figure out a method of making cylinders which were centered and had smooth sides.
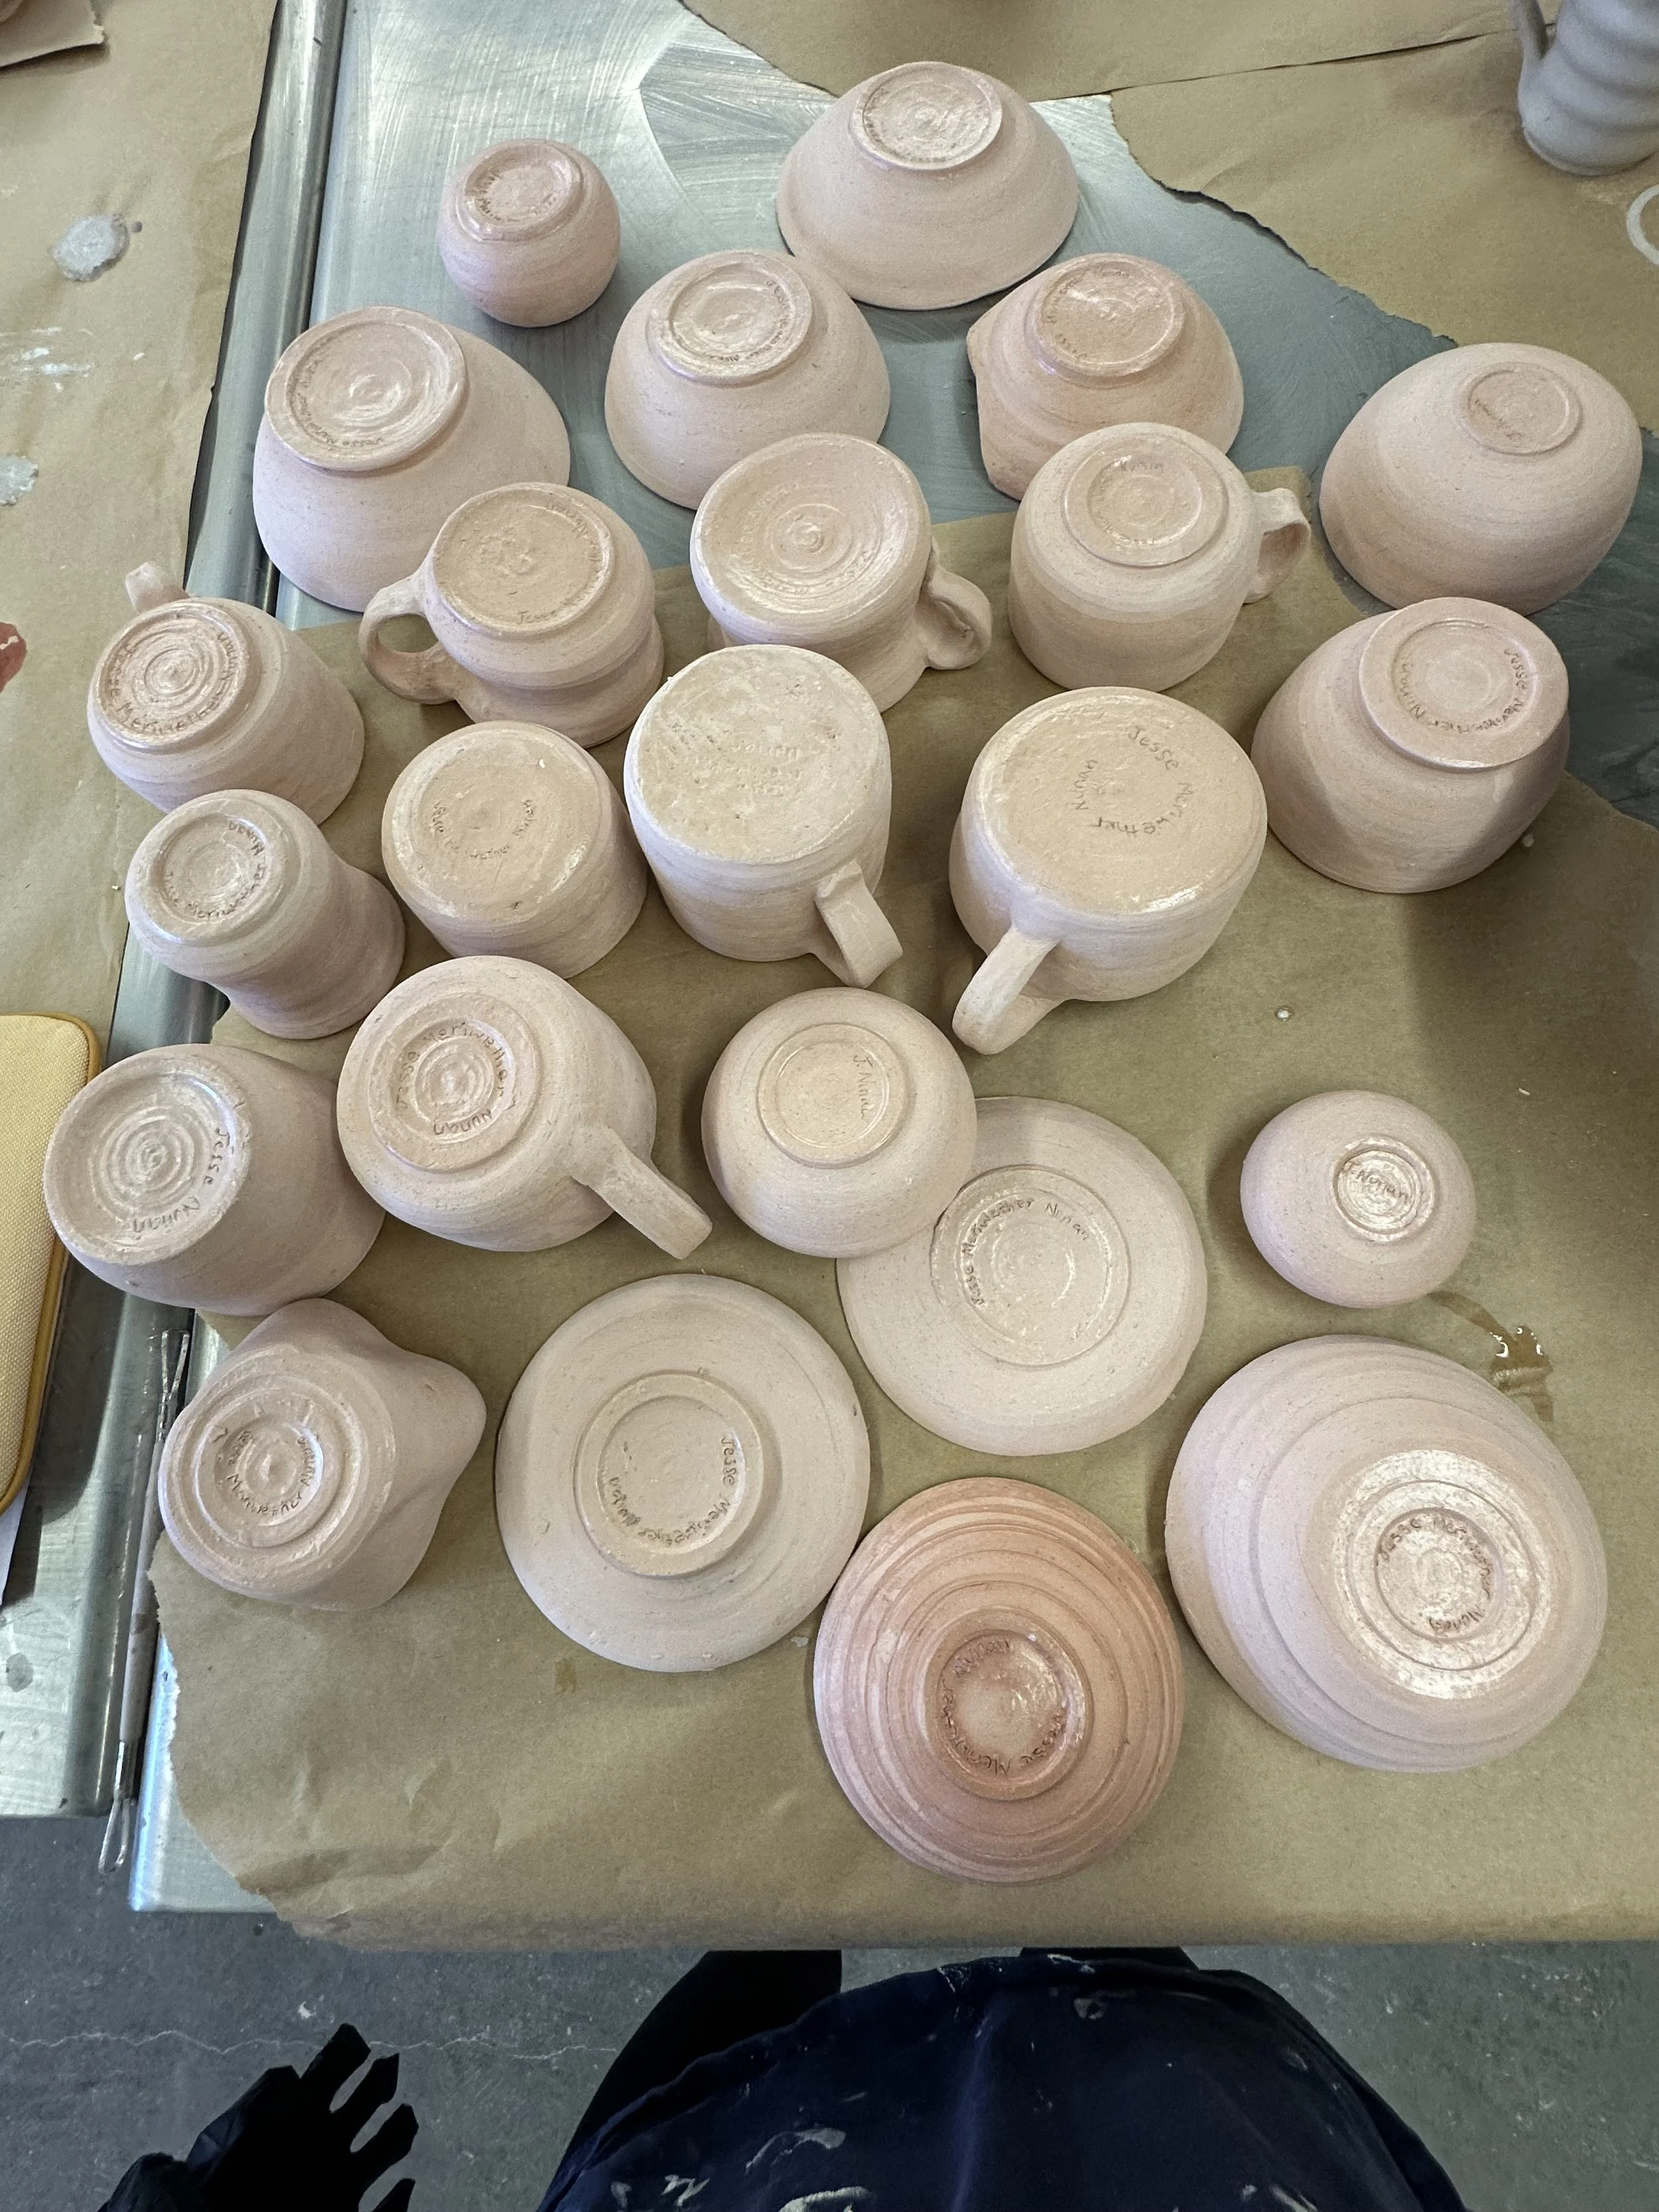
This was my next round of cylinders, these were much smoother and more symmetrical compared to my first pieces. After this I moved on to making bowls. I did not document the bowl making process, but it is quite similar to making cylinders. The difference is when on the wheel you pull the clay outwards first, instead of straight up.

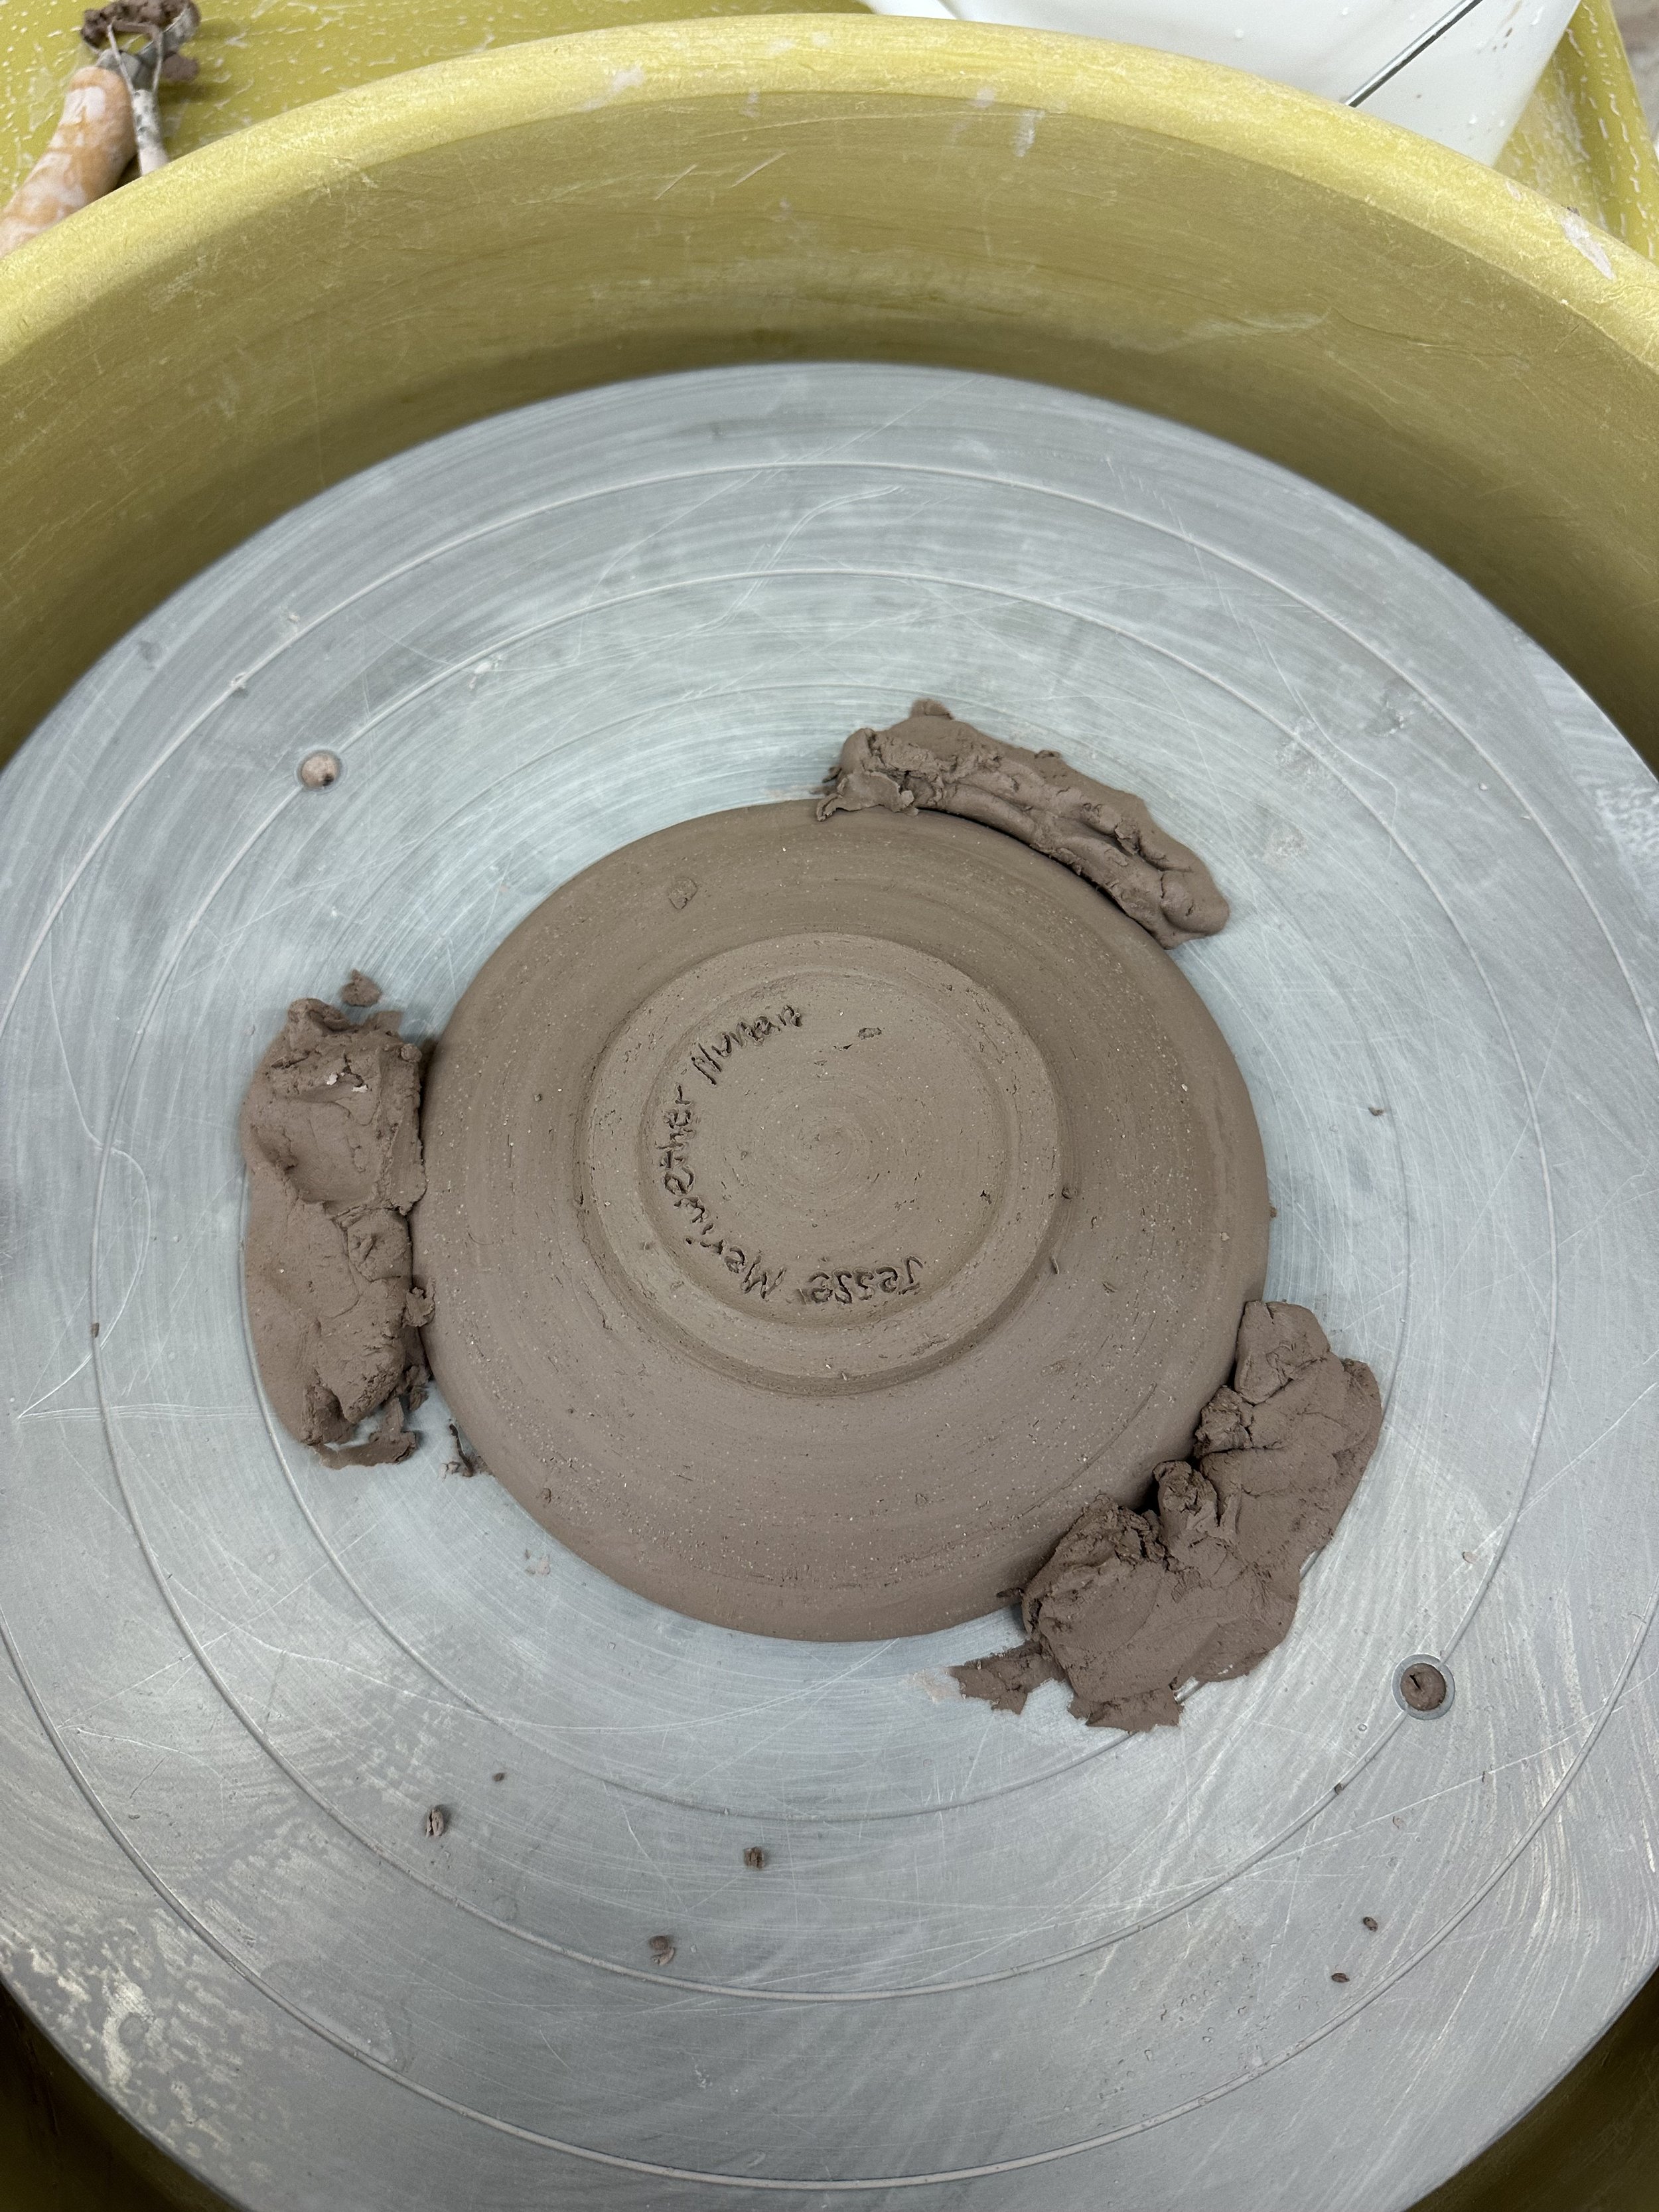
A few days after the cylinder is first made it is time to trim the bottom. This is done with a metal tool on the wheel. The metal tool (on right) shaves the hardened clay down and allows for a flat and stable bottom to be made.


Approaching the first (of two) firings these were the bowls that I had fired. As well as eight mugs (unseen in image) which were the cylinders with handles added on the side of them.

After the first kiln firing the vessels turned into a light pink color and had become completely solid.
At this stage they were ready to be glazed. First I put wax on the bottom, because the glaze would solidify to the kiln if it was put on the bottom of the mug or bowl. Then I added glaze by dipping each piece into a tub of watered down glaze. When taken out of the tub the water absorbed into the pottery and only the glaze powder was left on the outside. What is interesting about glazing, is that the powder before it is put in the kiln is a completely different color then when it comes out. For example, the red glaze powder is bright white and the black glaze powder is red. So I essentially had no idea what each piece would turn out looking like.

These were the pieces with the powder glaze on.
When the pieces were fired a second time they came out completely transformed. The glaze turned into glass from the temperature of the kiln and produced really unique and unexpected colors.
Below are my best glazes/designs that came out of this workshop.


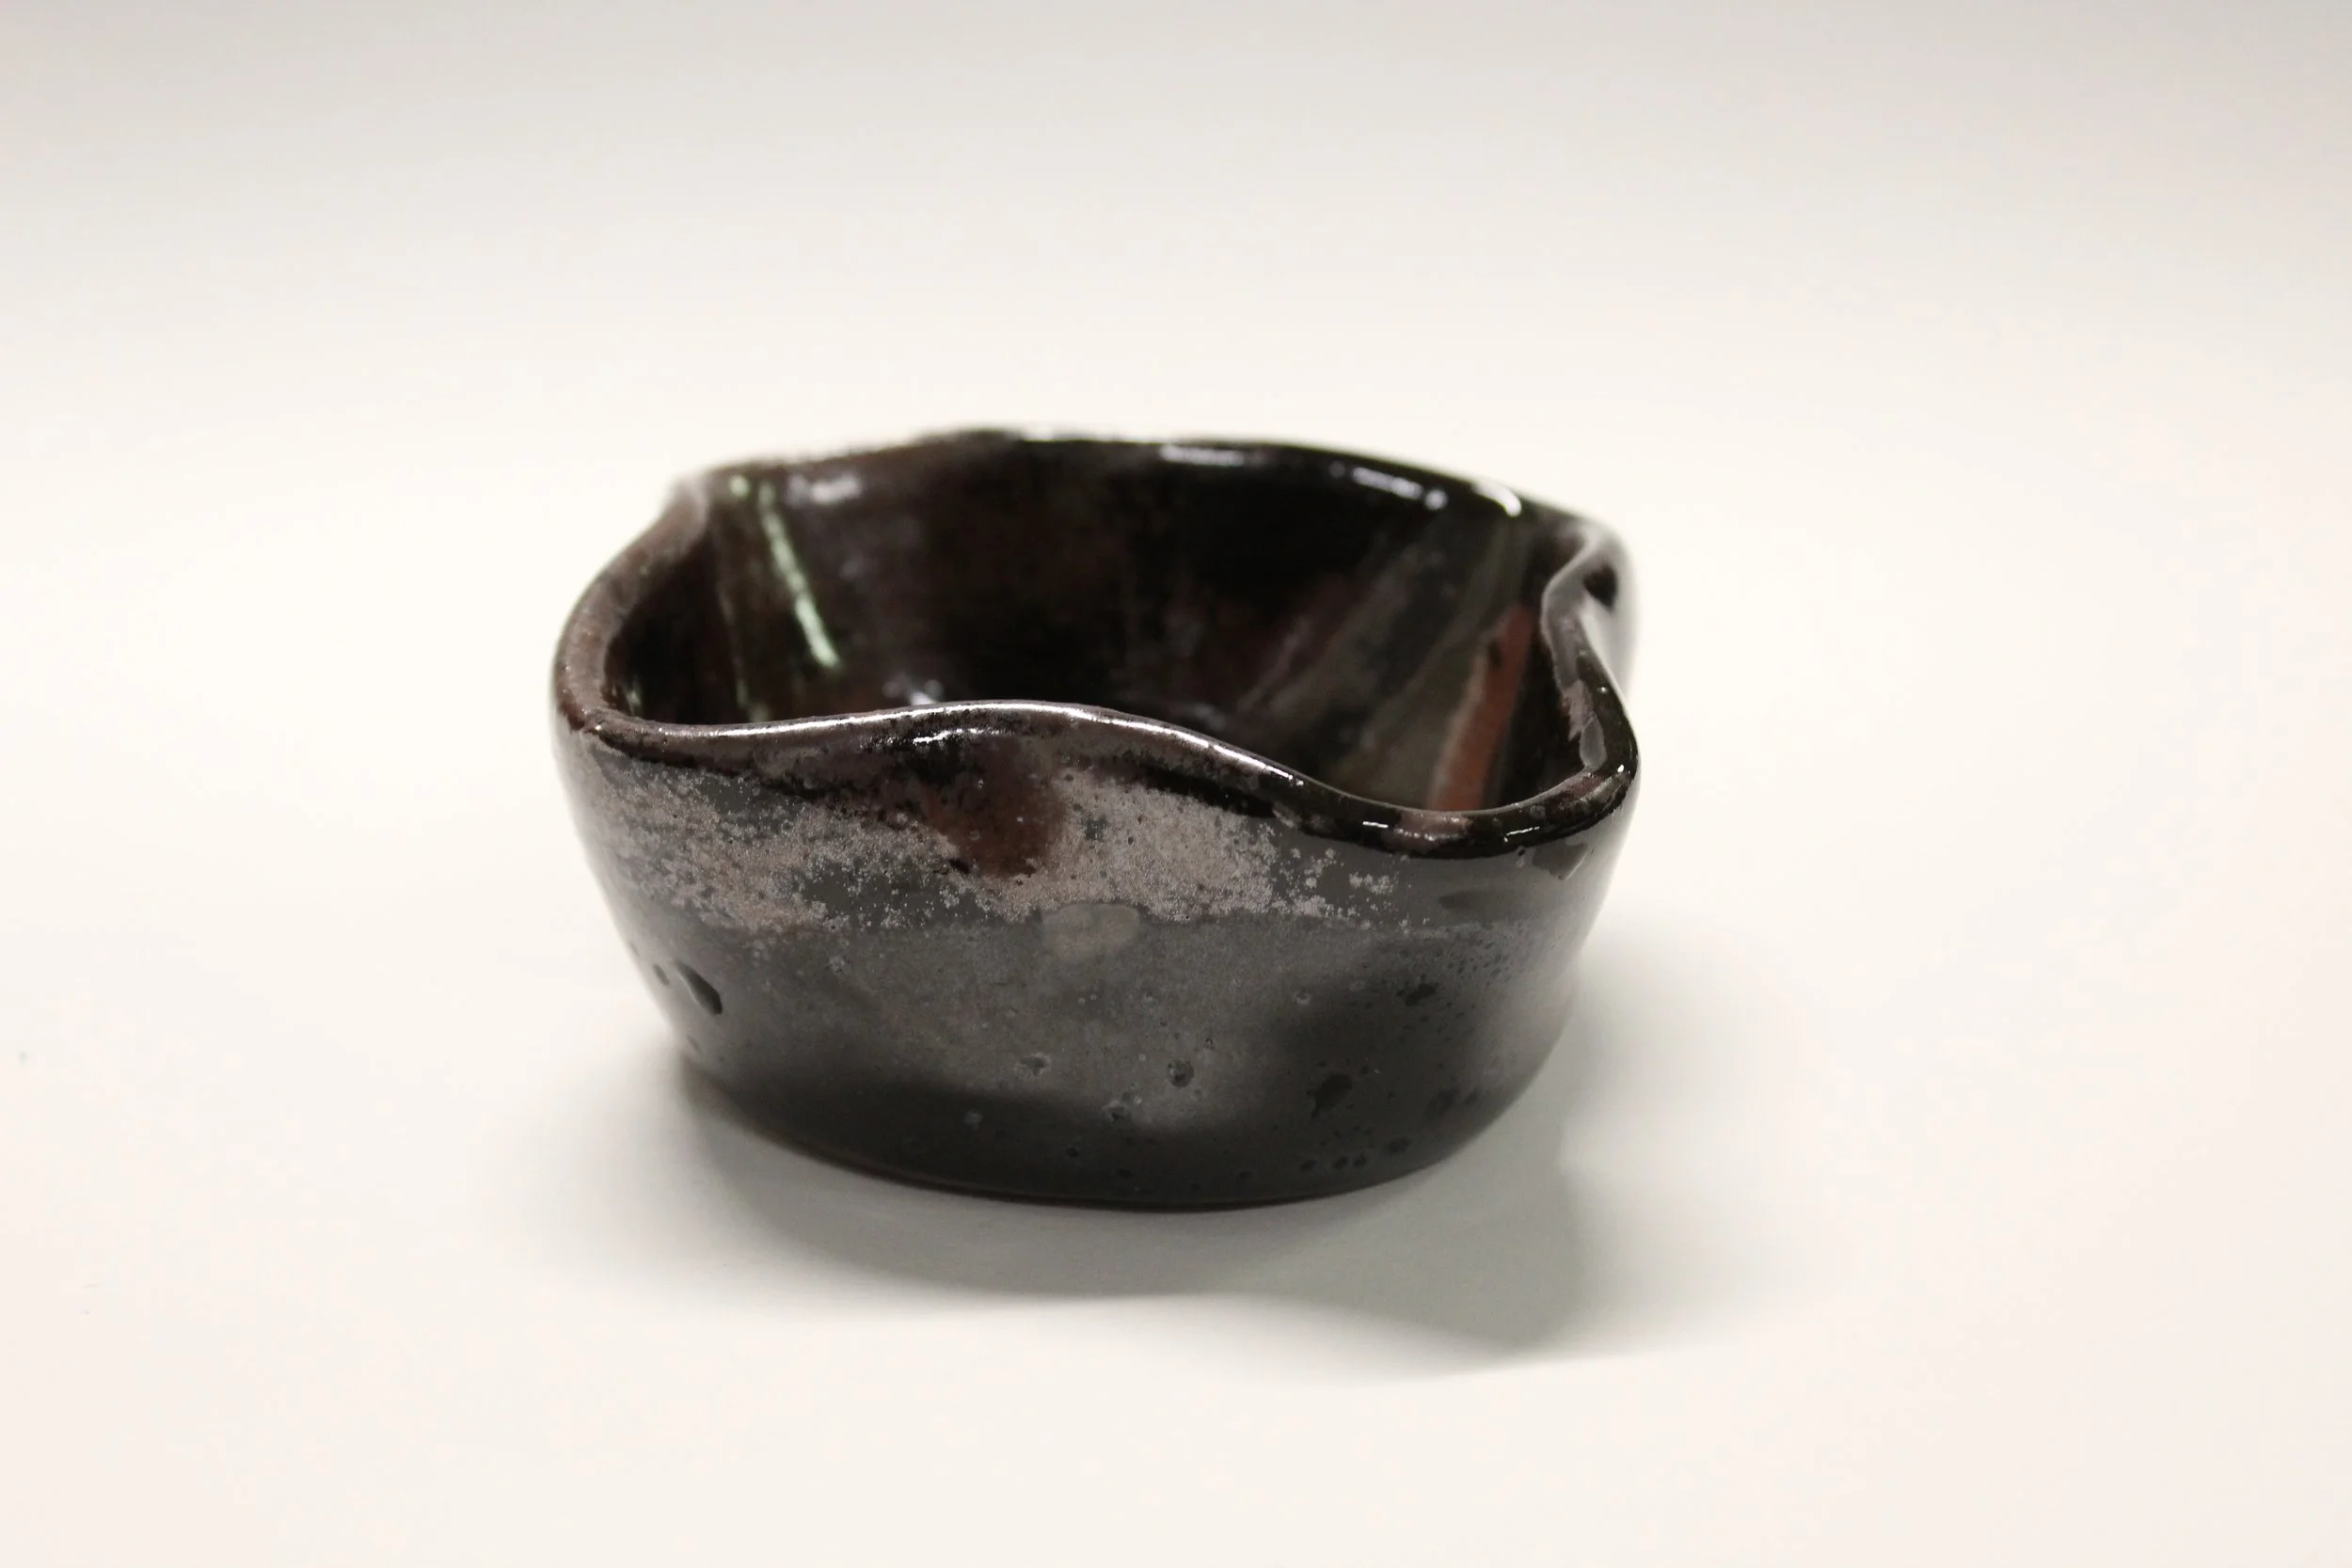

Overall this was an interesting experience because I entered the class with zero knowledge of working clay so I was quite out of my comfort zone. It was very experimental and I learned what works and what doesn’t. Next time I work with clay I will approach several things differently, but also use some of the methods I picked up from this class.
I am also very excited to announce that there is now an online store open! These ceramics as well as prints and stickers are now available!
Thank you for reading February’s addition of The Meriwether!